By Carly Jenson, Digitization Specialist
Digitization of Clements collections is an ongoing process, and one we spend a lot of time and energy on! In today’s blog, I’ll walk you through the steps of digitizing an item from our collections.
First, I have to determine how I want to scan the material. Bound volumes like books or manuscripts can usually be photographed using the V-Cradle attachment on the DT Atom scanner, while flatter items like photographs or postcards go on the reflective top. Once I determine which attachment to use, I have to choose the height we need to photograph the material at. Sometimes, especially with reference requests, I’ll get specific instructions to digitize an item at a specific pixels per inch (ppi), which determines the resolution of the image. Larger items have to be photographed further away from the camera and will be shot at 400 ppi, while smaller objects can be shot closer and at 600 ppi. We have a handy guide that determines the camera height depending on the resolution of the image we’re going for.
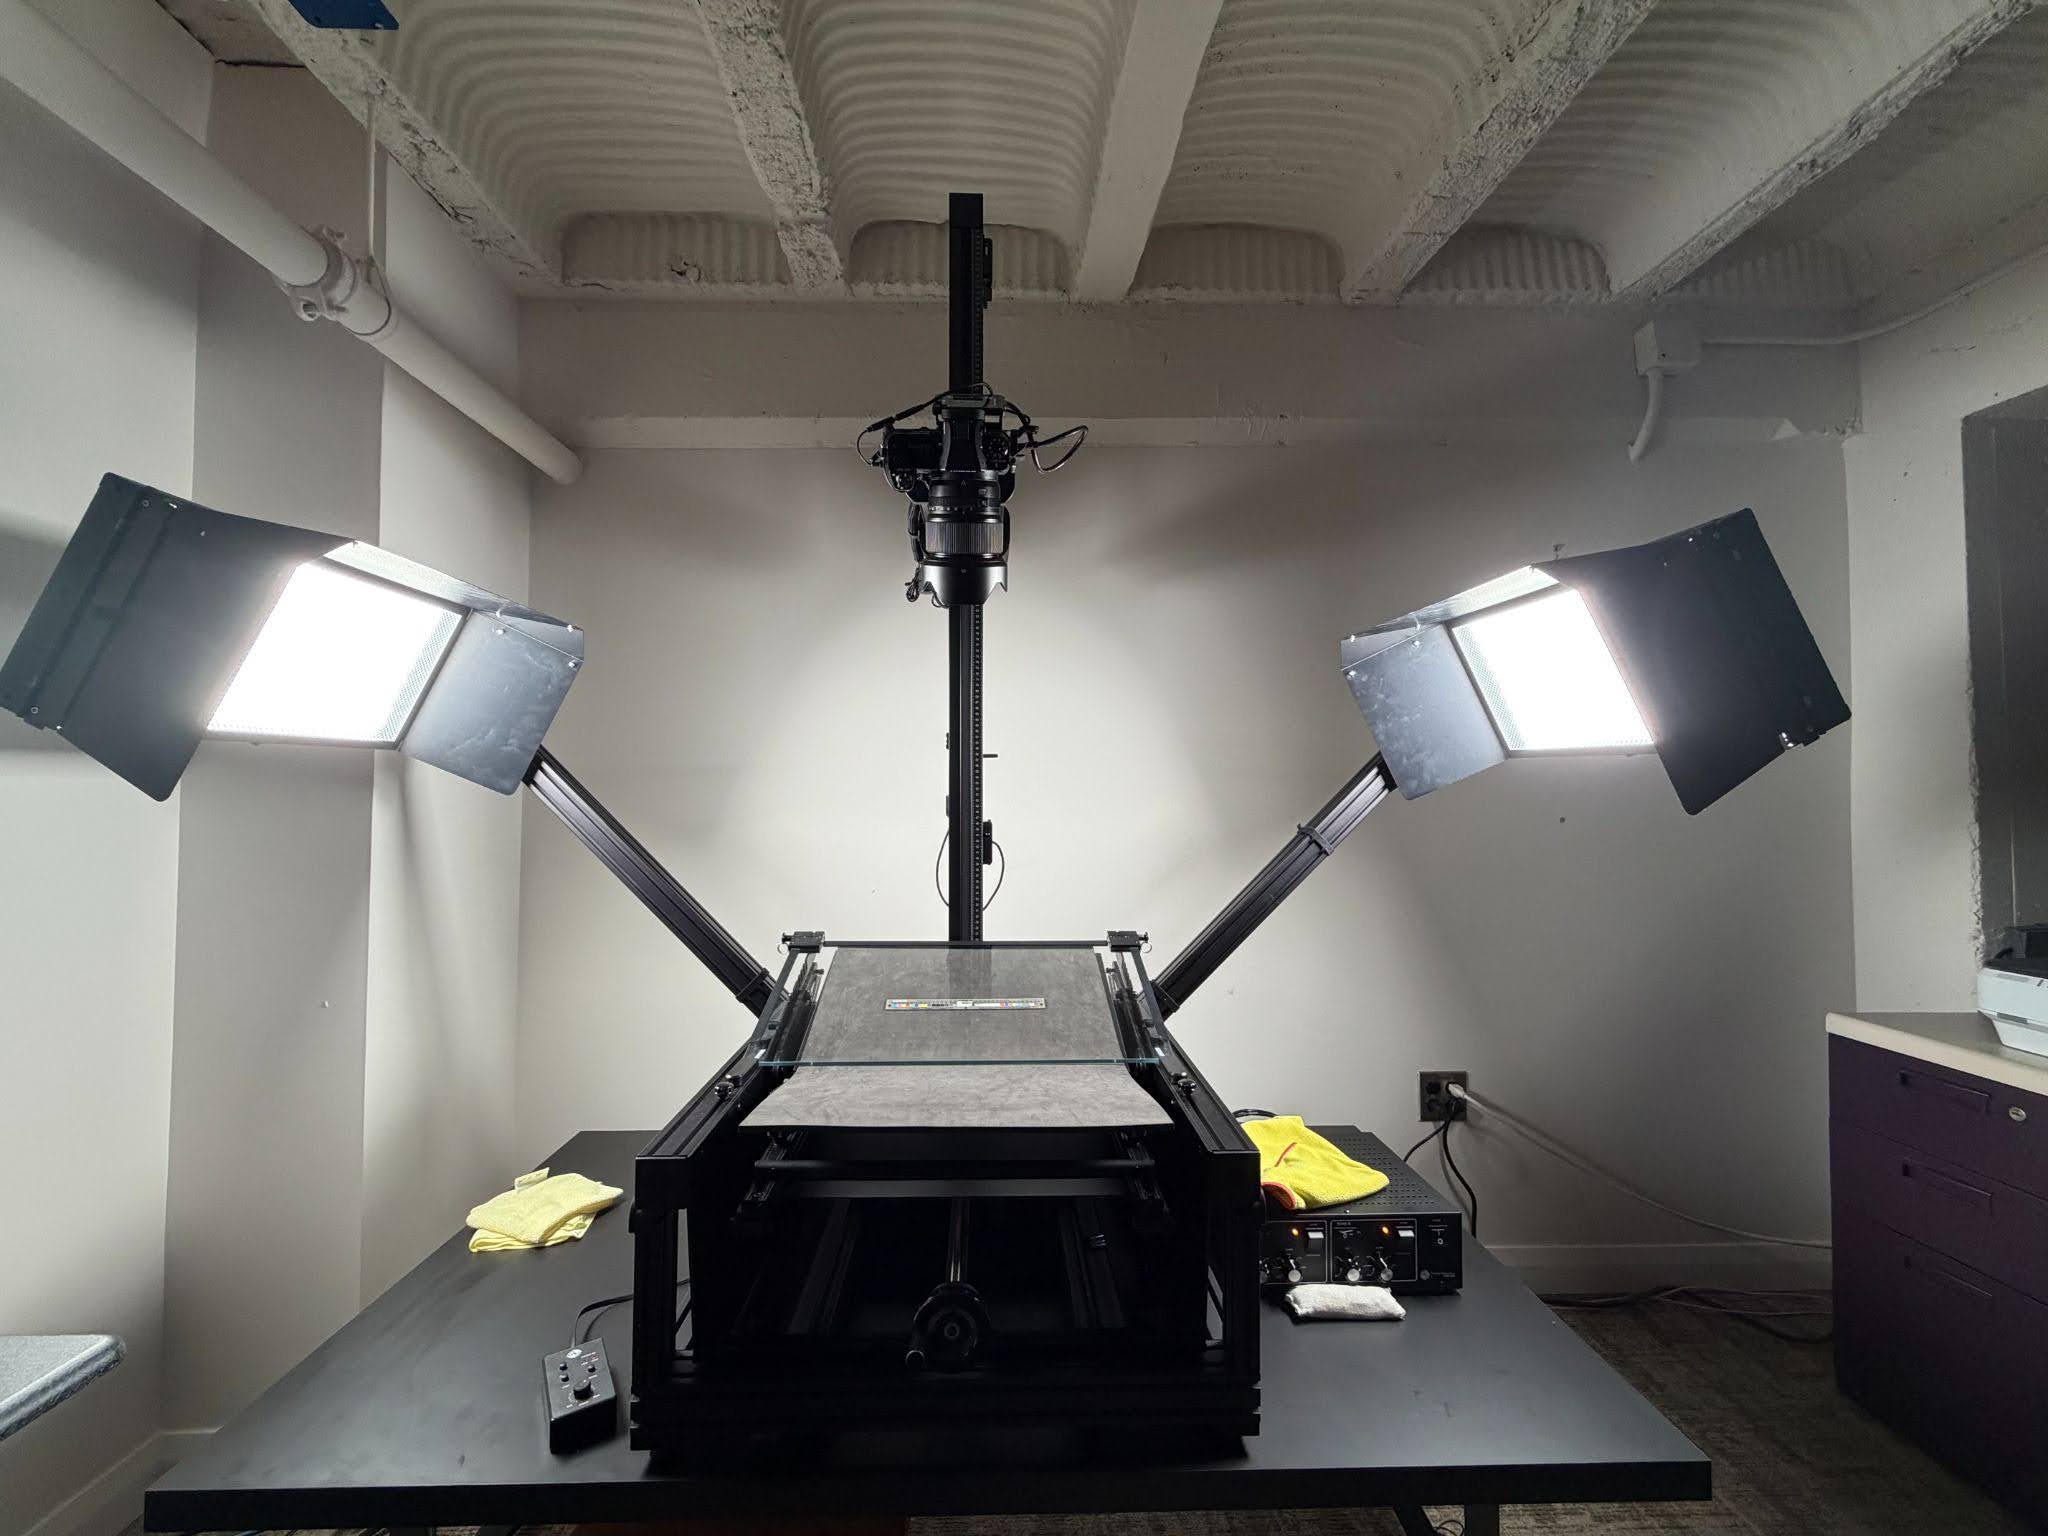
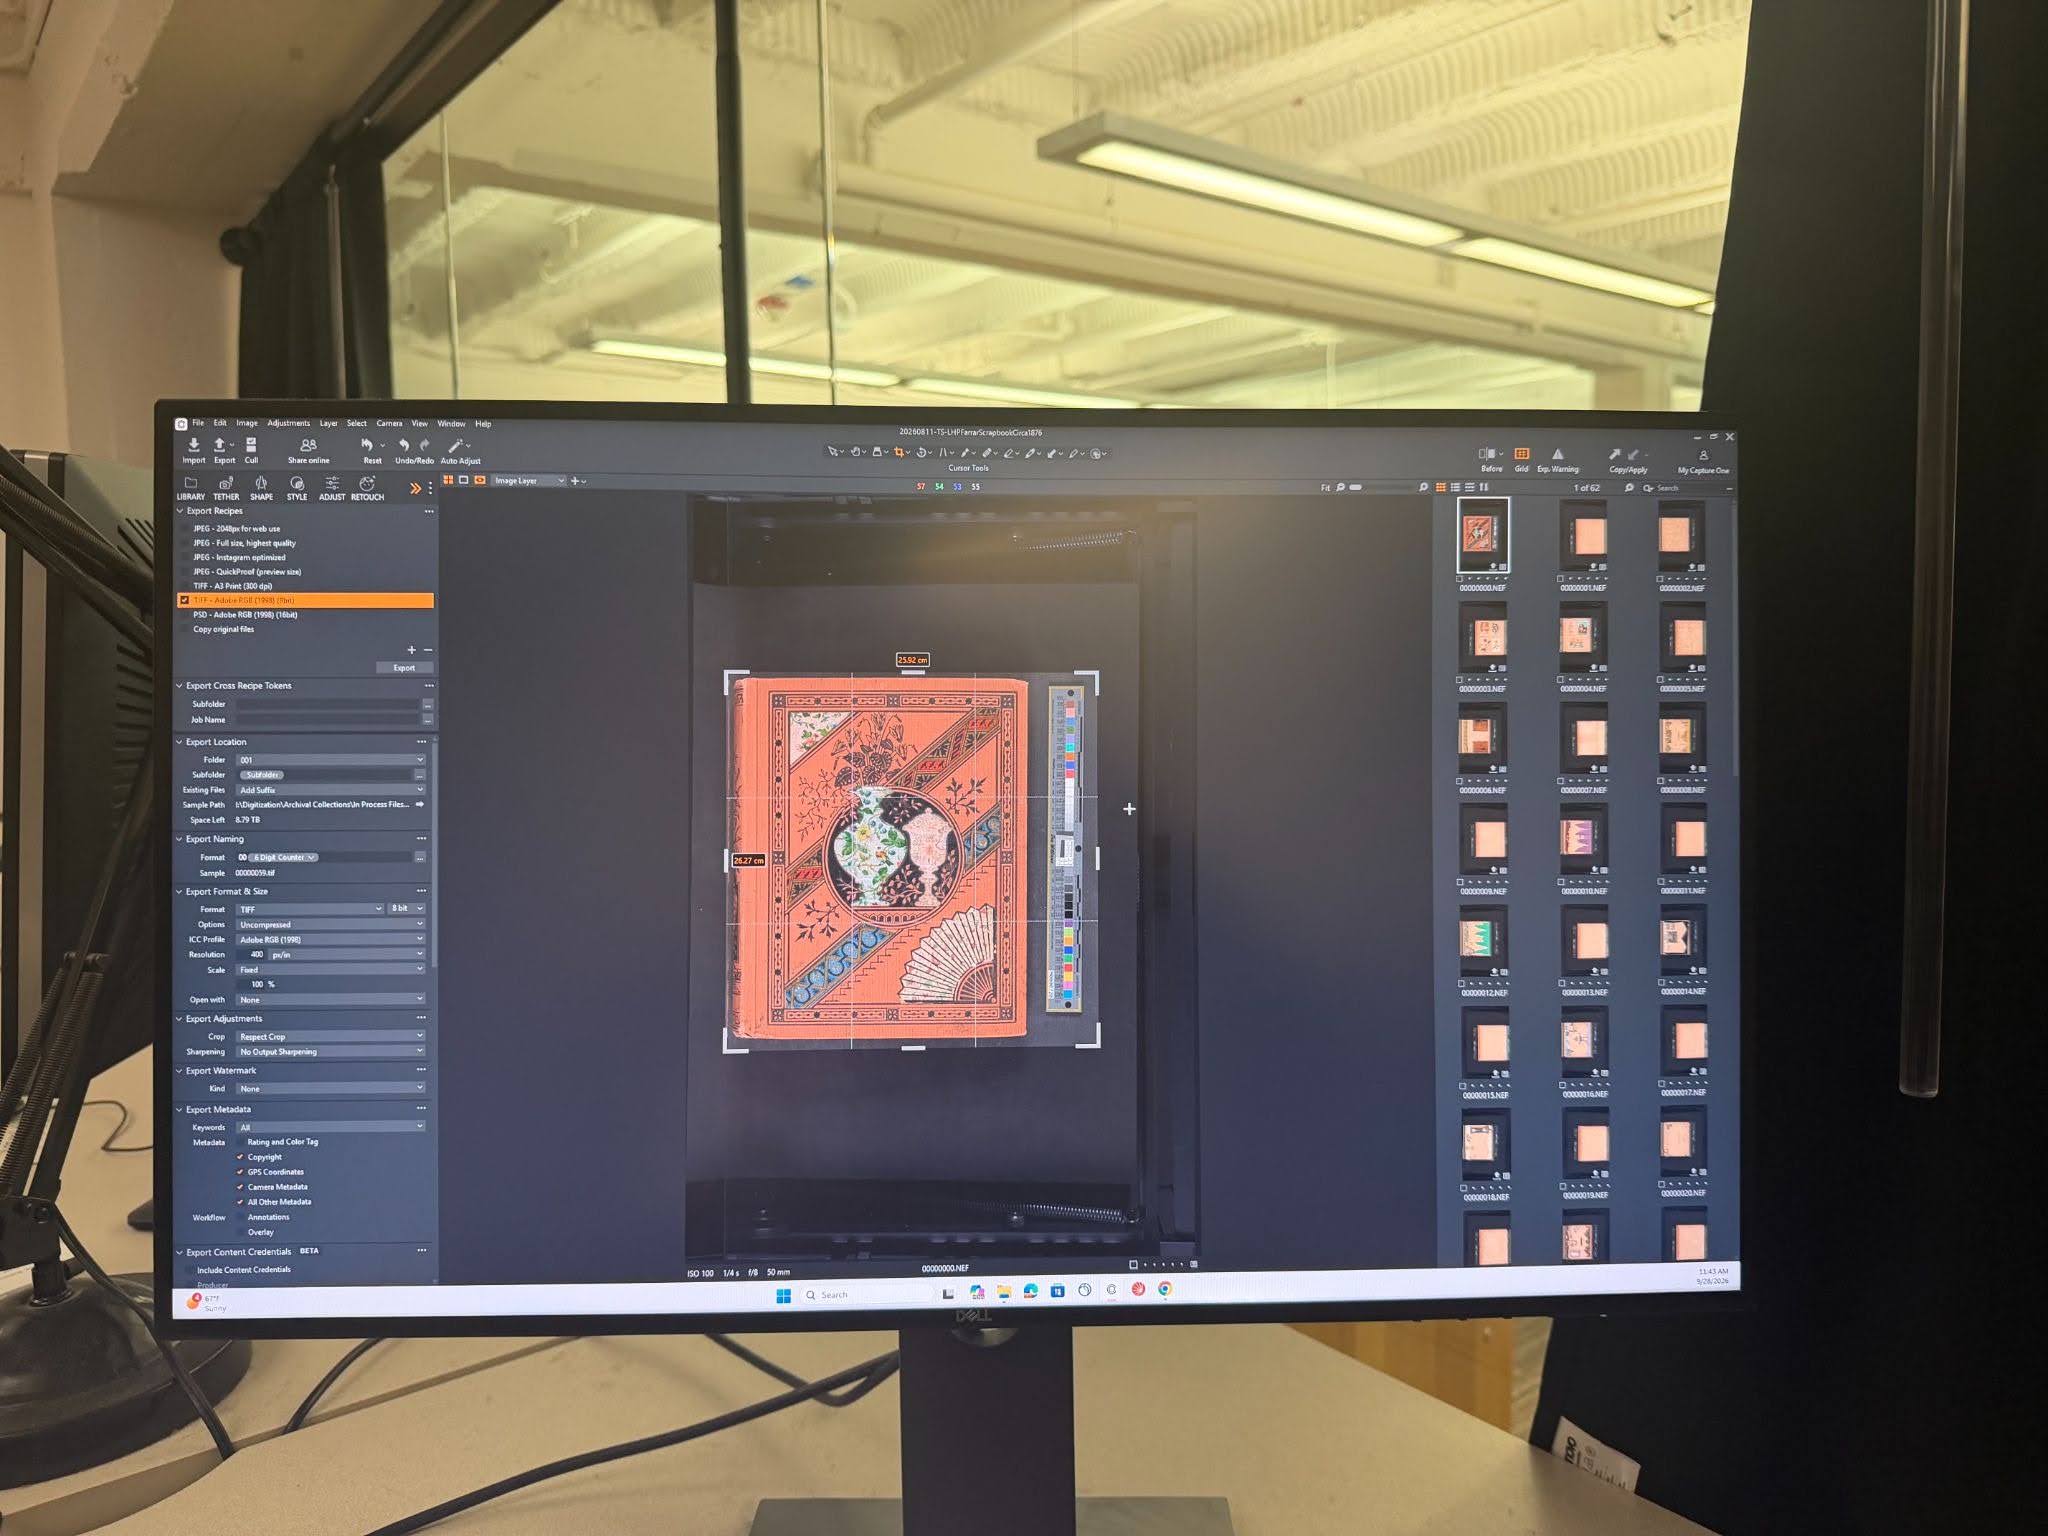
Once all those logistical elements have been sorted, we can start taking photos. Every time we start a new session or move the camera, we have to go through a process called preflight. During this routine, we set the exposure, Lens Cast Correction (LCC), white balance, and resolution that will apply to all the images we shoot. This process creates a uniformity that is universal across all our collections.
Now we can start doing the fun stuff! If I’m digitizing a bound volume, I start by scanning the cover, making sure to include the color bar as a reference to set the scale of the material. Then, I will go ahead and photograph all of the right-side pages. Once I go through the entire volume, I will flip the camera angle and photograph the left side of the item.
After I’ve finished scanning everything, I merge the right and left side images together to create a cohesive set of images that allow users to read the book front to back. I then do a quality check of the scans to ensure none of the images are blurry or that I didn’t miss a page.
Once the actual scanning is done, I crop and rotate the images. I want to ensure that all the images are uniform and readable, so I set a blanket crop and adjust the scans to fit. Once I finish editing a batch, I back it up to the Clements drive where they will sit until they are ready to go onto the website.
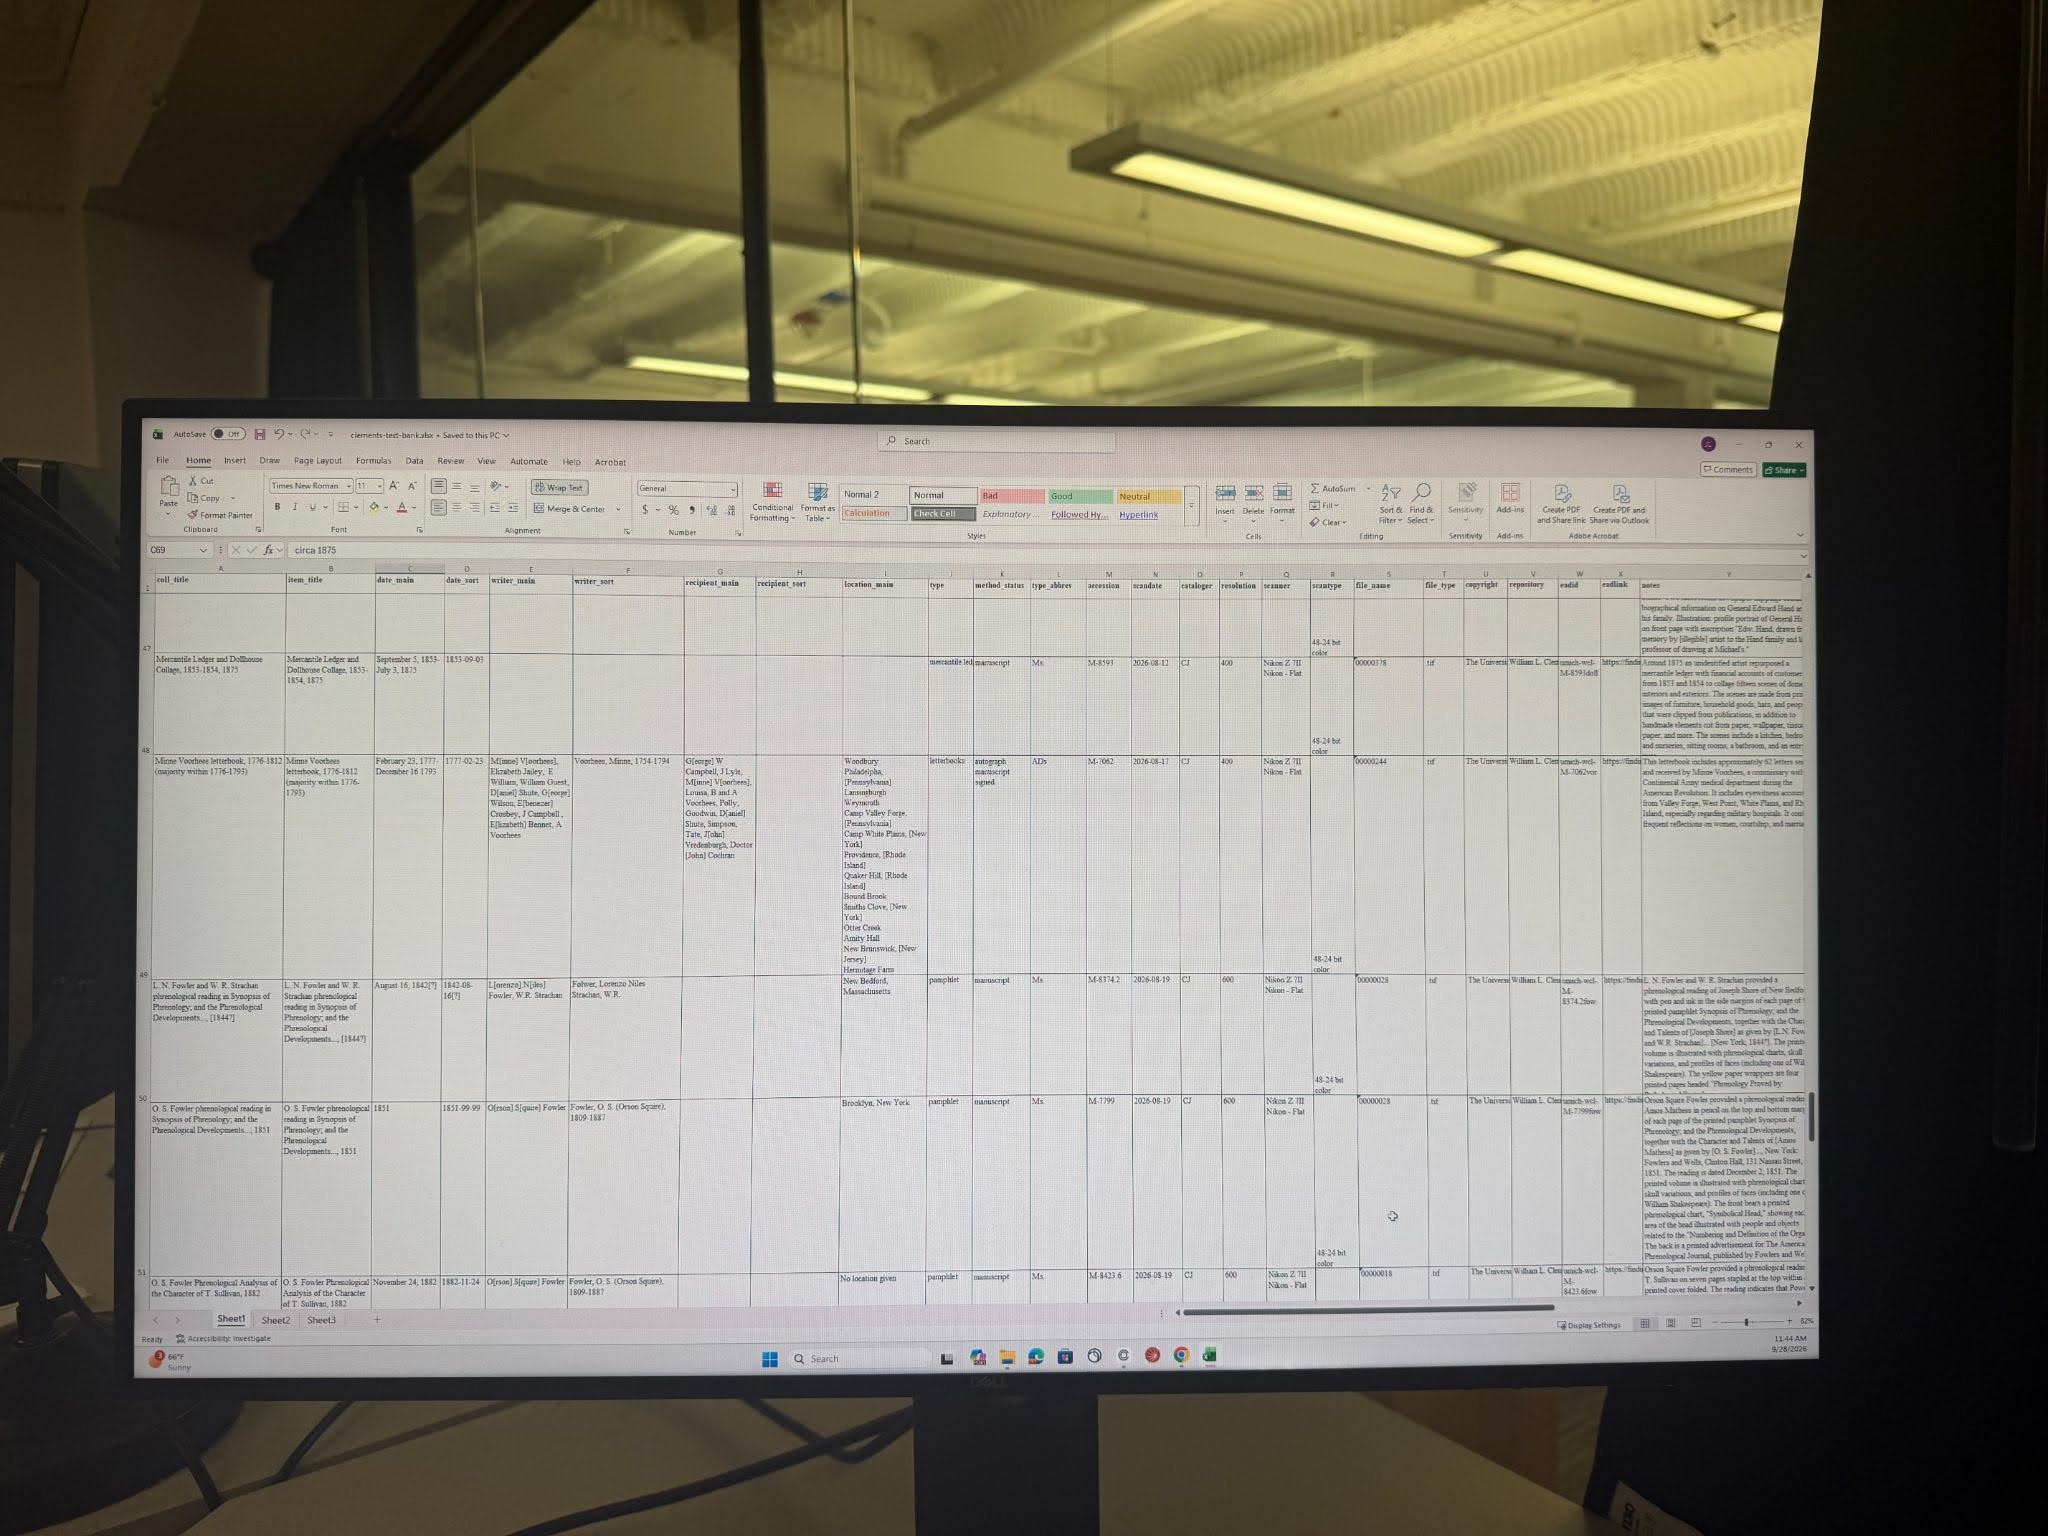
The final step in this process is creating metadata. This process involves filling out specific fields, such as the title of the collection, the author, when it was written, etc. I collaborate with Metadata Librarian Meghan Arends to ensure that everything is up to our standards. This is one of the more challenging but exciting parts of the process, as I often have to hunt around and really dig for information.
Once everything is done on our end, we can send the scans and metadata off to the Digital Content and Collections division of the university to have the images put online. Then the scans will be available for viewing through the collection’s finding aid or in the image bank and digitized collections sections of the website. This allows for folks from across the globe to access any maps, books, graphics, and manuscripts we have digitized.
Coming in person to the Clements isn’t always feasible, which is why digitization is such an essential aspect of making our materials accessible. Thanks to this incredible technology, we can help patrons see our vast collections from the comfort of their homes!